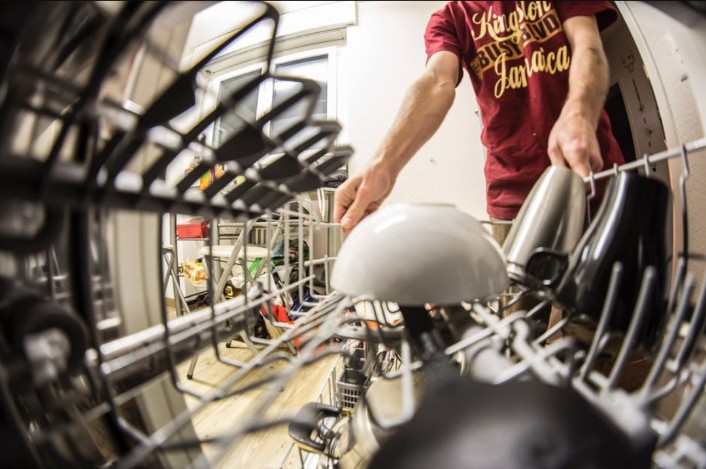
Are you dealing with a broken dishwasher rack and need to get it fixed sooner? If so, you might want to try a repair kit.
It may seem like a daunting task, but when emergency services aren’t available, you want to try it yourself. The question is, how does it work when you’re a beginner?
Here’s a guide on how to use a dishwasher rack repair kit in a beginner’s steps!
Contents
Identify Damaged Areas
To effectively maintain your dishwasher, start by examining the rack for areas that might need repairs. Make sure you take a closer look at every nook and cranny.
Additionally, it helps to check for signs of wear and tear. Keep an eye out for worn-out spots, rust, or any chipped areas that could affect its functionality.
Doing so will help you ensure your dishwasher stays in top condition. It also lets you know what dishwasher rack repair you should work on.
Preparation
Before you start the repair process, take the time to give your dishwasher rack a good cleaning. This way, you can make sure to remove any dirt, grime, or residue. It also helps the repair material bond properly with the rack.
Note that this step is crucial to ensure the longevity and effectiveness of the repair. With a clean and smooth surface, you set the stage for a strong and reliable fix.
Proper preparation also makes room for better dishwasher maintenance. This way, it can go beyond the common 10-year long lifespan!
Gather Your Repair Kit
When your dishwasher rack is ready, gather your repair kit. Note that you may want to consider the quality to ensure you get the best outcome.
Usually, they come with vinyl paint and caps for the rack tips. Moreover, they come in different colors to match your original rack design. You can check out this dishwasher rack repair kit for more options.
It’s also good to see if you have everything, from the right materials to the repair kit guide. This way, you can follow the proper instructions during the process.
Apply Vinyl Paint
The first step to using a repair kit is usually to grab the vinyl paint and carefully apply it to damaged areas. You can use either the small brush from the kit or the special applicator that comes with it.
The idea here is not just to make your rack look good again, but also to give it some extra protection against future rust and wear. It’s all about adding that extra touch to make your rack last longer and work better.
Attach the Caps
Once the paint dries, take the caps from your repair kit and secure them to the ends of the rack. These specially-designed caps protect your delicate dishes.
At the same time, they make sure the tips of the rack don’t accidentally come into contact with them. This way, you can ensure that your dishes stay safe from any scratches or damage.
Let It Dry
Remember to let it dry completely for at least 24 hours before putting it back in the dishwasher. This longer drying time ensures that the paint and caps stay securely attached. And so, you don’t have to worry about them coming off during a wash cycle.
Protect Your Dishes With a Dishwasher Rack Repair Kit
You can successfully use a dishwasher rack repair kit even as a beginner. All it takes is the right steps and tools. This way, you can protect your dishes and keep your dishwasher in top shape for a longer time!
Check out our blog for more of these guides.

